
Expansion Joints and Bay Sizing for Large Liquid Screed Pours
Why Liquid Screed Moves
Every screed moves. It’s not a defect — it’s physics. The question is never whether a floor will experience movement, but whether that movement is controlled or uncontrolled. Controlled movement happens at joints. Uncontrolled movement shows up as cracks.
Liquid screed experiences three types of movement, each with different characteristics:
Drying shrinkage
As the screed cures, water evaporates from the mix. The material contracts as it dries. This shrinkage is a one-off event — once the screed has reached its equilibrium moisture content, it won’t shrink further from drying alone. Cementitious screeds like Cemfloor experience more shrinkage than anhydrite (calcium sulphate) screeds, which is one reason the bay sizing guidelines differ between the two systems. The amount of shrinkage depends on the mix design, the depth of the screed, the ambient conditions during curing, and the rate of drying.
Thermal movement
Where underfloor heating is installed, the screed expands and contracts with every heating cycle. This is an ongoing, repetitive movement — unlike drying shrinkage, it never stops. The magnitude depends on the temperature differential between the heated and unheated state, the coefficient of thermal expansion of the screed material, and the length of the bay. A 40m bay with a temperature change of 20°C can experience expansion of around 8mm. Without a joint to accommodate that movement, the stress has to go somewhere — and it goes into a crack.
Structural movement
The building itself moves. Construction joints in the concrete slab, movement joints in the structure, differential settlement between foundations — all of these transfer movement into the screed layer above. If a structural joint in the slab isn’t mirrored in the screed, the screed will crack directly above the joint. This isn’t a screed failure — it’s a planning failure. Every structural movement joint must be reflected in the screed, without exception.
Types of Joints: Expansion, Control, and Day
Not all joints do the same job. Understanding the distinction matters because the wrong type of joint in the wrong position is almost as bad as no joint at all.
Expansion joints
Expansion joints accommodate thermal movement — the repeated expansion and contraction caused by underfloor heating cycles or ambient temperature changes. They consist of a compressible core (typically closed-cell polyethylene foam) that can absorb the expansion of the screed on either side without transferring stress. The foam compresses as the screed expands and recovers as it contracts. Expansion joints must be positioned between independent UFH zones, at door thresholds between heated and unheated areas, and at regular intervals determined by the bay sizing calculation.
Control joints (contraction joints)
Control joints serve a different purpose. Rather than accommodating expansion, they create a deliberately weakened line in the screed that dictates where a crack will form if the screed shrinks enough to crack. The principle is straightforward: if shrinkage cracking is going to happen, it’s better to control the location of that crack — in a straight, clean line at a joint — than to have it appear randomly across the floor surface. Control joints are typically used in large bays where the area approaches or exceeds the recommended maximum, at changes in floor geometry (L-shapes, T-junctions, re-entrant corners), and where the bay length-to-width ratio exceeds 2:1.
Day joints
A day joint occurs where a pour stops and starts — the boundary between screed placed on one day and screed placed the next. These are a practical reality on large projects where the full floor area can’t be poured in a single session. Day joints need to be planned in advance, not left to wherever the pump happens to stop. They should coincide with natural break points in the floor layout — doorways, columns, changes in direction — and should be formed cleanly with a temporary stop-end that allows the second pour to abut the first without creating a weak point.
Bay Sizing: The Numbers That Matter
Bay size is one of the most frequently asked questions in liquid floor screeding, and the answer depends on the screed type, whether UFH is present, and the geometry of the floor.
Anhydrite (calcium sulphate) liquid screed
Anhydrite screeds experience significantly less drying shrinkage than cementitious products, which allows for much larger bay sizes. The Calcium Sulphate Screed Association guidance permits bay sizes of up to 300m² with underfloor heating, and up to 1,000m² without UFH — though very few projects would pour a single 1,000m² bay without any joints. These maximum figures assume a straightforward rectangular geometry with no restraints. Real floors are rarely that simple.
Cementitious liquid screed (Cemfloor and similar)
Cementitious screeds shrink more than anhydrite as they cure, which means smaller maximum bay sizes. For systems like Cemfloor with underfloor heating, bays of around 100m² are typical, though the exact maximum depends on the product specification and the site conditions. Without UFH, larger bays are possible but still significantly smaller than anhydrite equivalents.
Factors that reduce maximum bay size
The published maximum figures are upper limits for ideal conditions. In practice, several factors require the bay size to be reduced:
Complex geometry. L-shaped, T-shaped, or irregular rooms concentrate stress at the internal corners (re-entrant corners). A 90m² L-shaped room may need a joint at the internal corner even though its total area is below the maximum, because the stress concentration at the junction would otherwise cause a crack.
Columns, service penetrations, and islands. Anything that restrains the screed from moving freely — a column cast into the slab, a drainage run, a kitchen island base — creates a stress point. The bay should be divided so that restraints fall on a joint line rather than in the middle of a bay.
Multiple UFH zones at different temperatures. If two adjacent areas are heated to different temperatures, they’ll expand at different rates. The differential movement between them must be accommodated by an expansion joint. This is particularly common in commercial projects — corridors at one temperature, offices at another, server rooms at yet another.
Length-to-width ratio. Long, narrow bays experience higher stress concentrations than square ones. As a general guideline, bays with a length-to-width ratio exceeding 2:1 should be subdivided with a control joint, regardless of the total area.
On the Oxfordshire project — 3,000m² of Cemfloor cementitious screed — the entire floor plate was divided into properly separated bays using Metex expansion and control joints. With UFH zones operating at different temperatures across the floor plate, that meant significantly more joints than a simple area-based calculation would suggest. Every bay was planned before a single joint was installed.
Why Metex Joints for Flowing Screed
The choice of joint product matters more for liquid screed than for traditional sand-and-cement. A standard foam expansion strip — the type used routinely with semi-dry screed — won’t work with a flowing screed pour. The hydrostatic pressure of the liquid material will push the strip over, distort it, or flow underneath it. The joint fails before the screed has even cured.
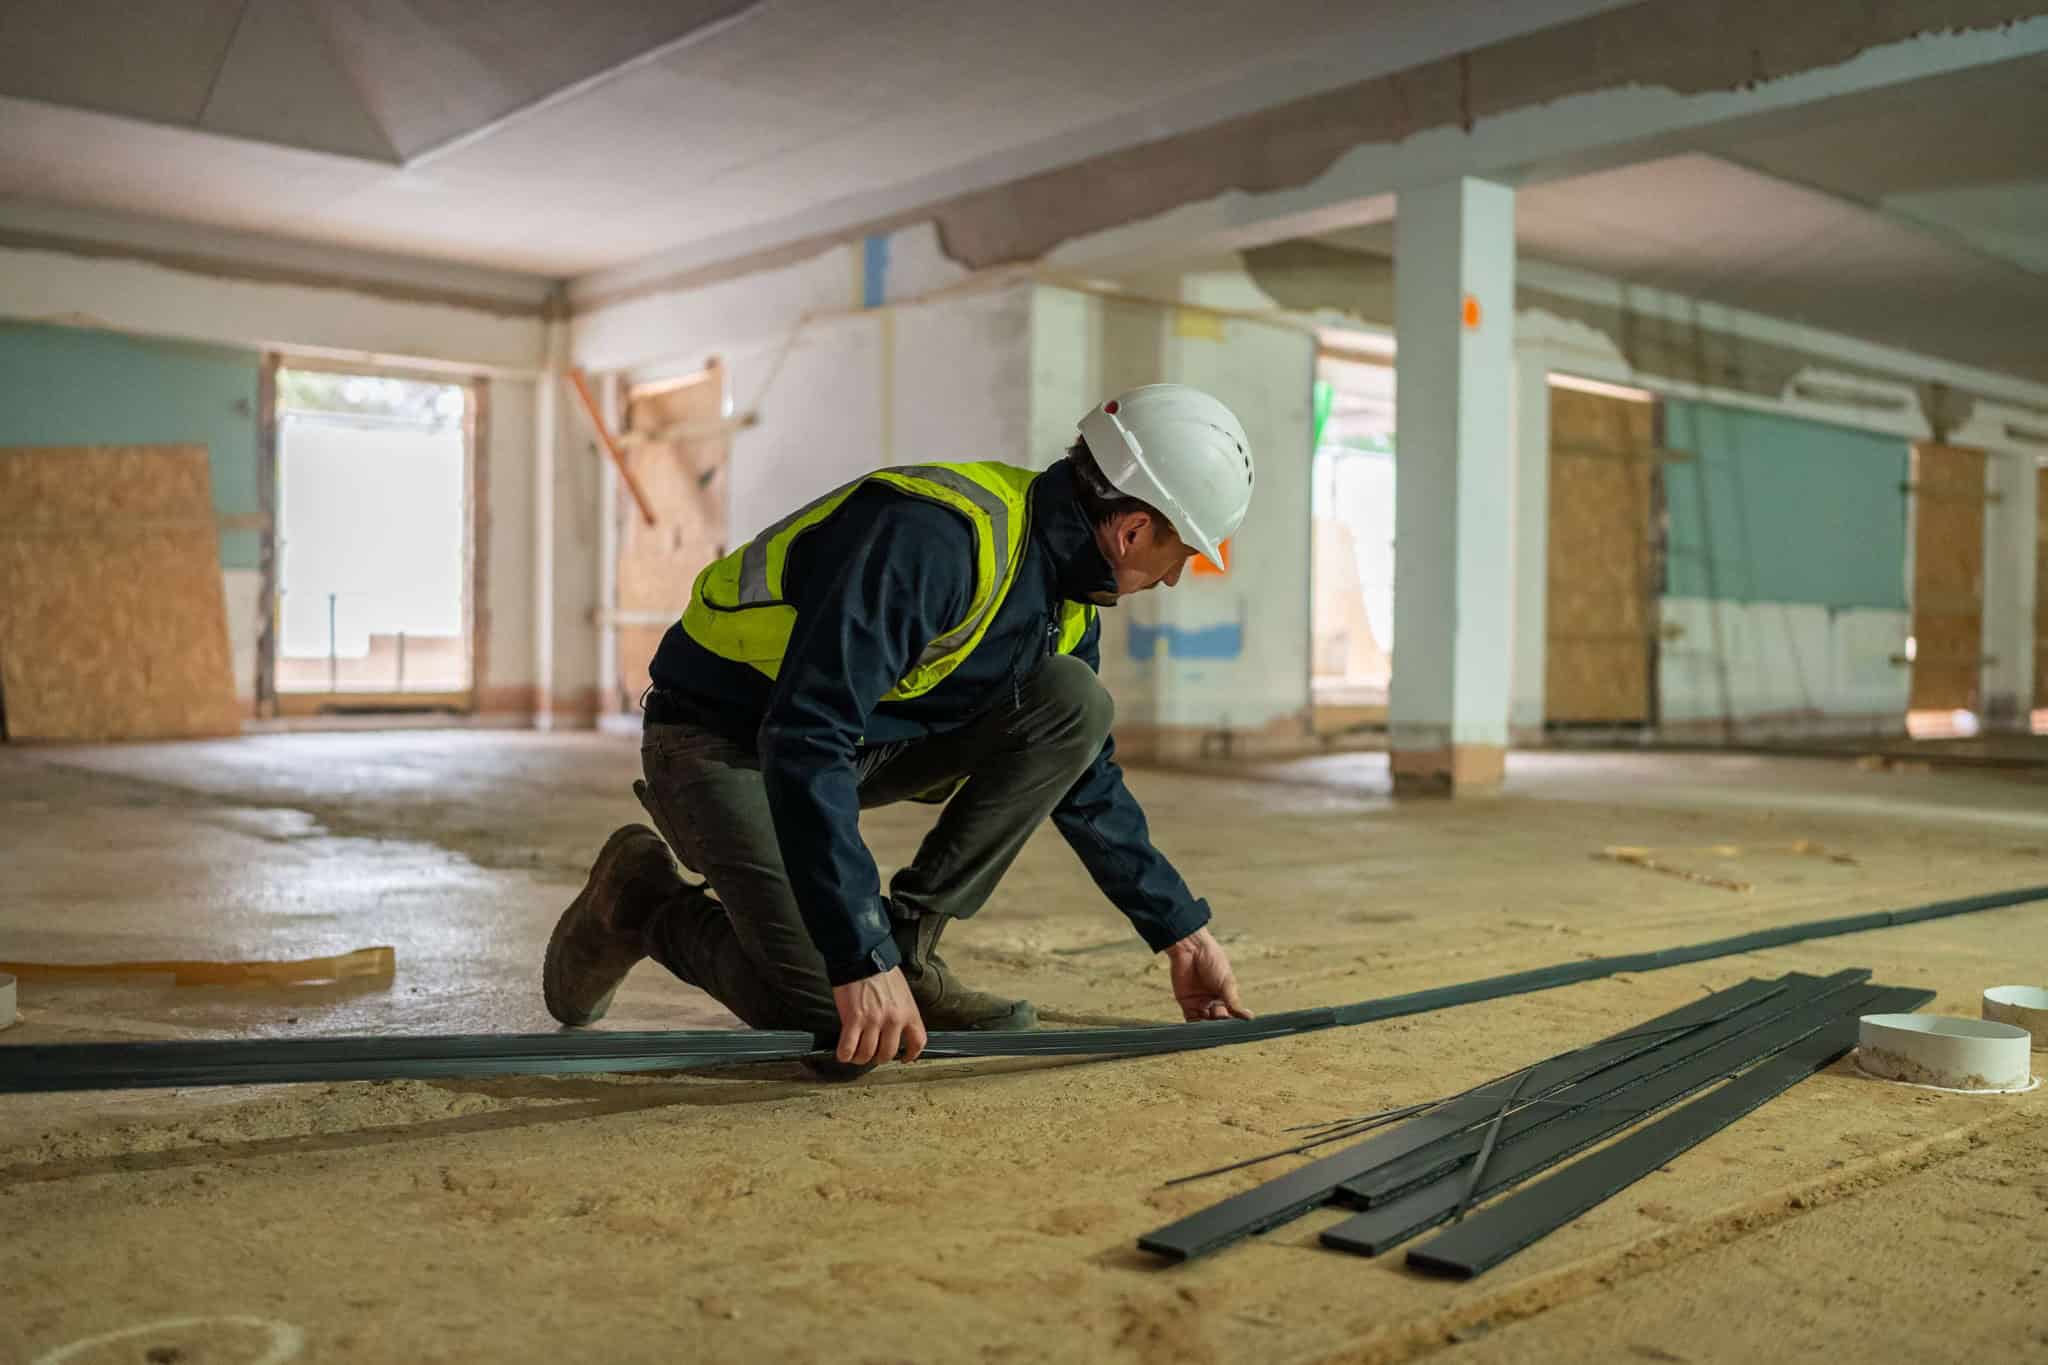
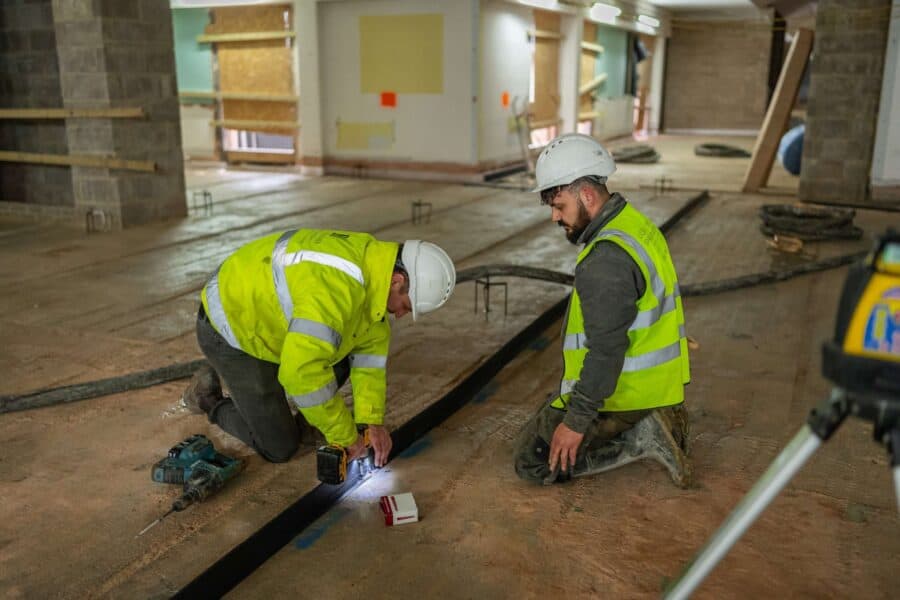
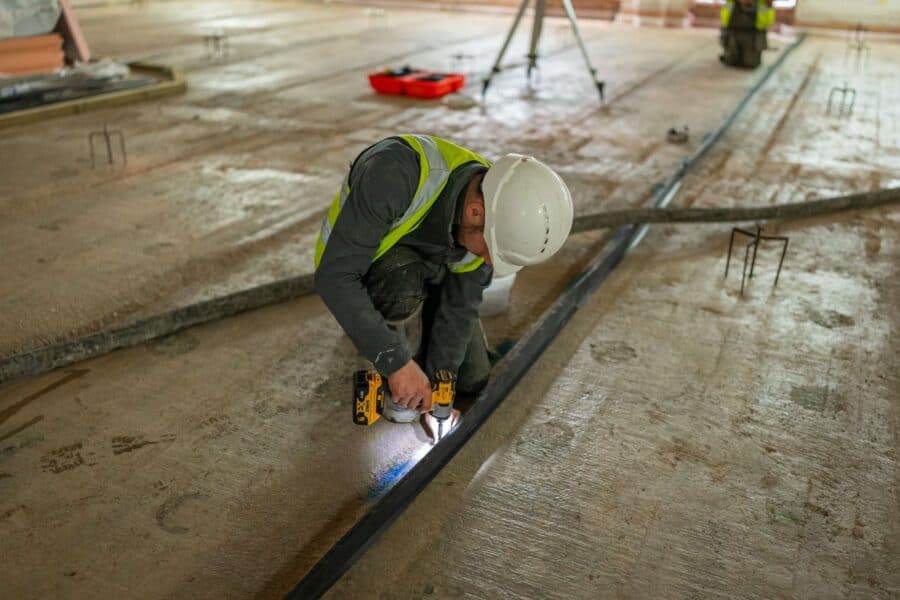
Metex vertical expansion joints are designed specifically for self-levelling liquid screeds. The key feature is a rigid plastic upstand on either side of a compressible foam core. This upstand is strong enough to resist the lateral pressure of flowing screed without deflecting, keeping the joint straight and the two bays cleanly separated. The adhesive-backed base sticks to the membrane beneath, preventing the joint from floating or shifting during the pour.
They’re supplied in 1.9m lengths that can be cut to size with a fine-tooth saw or knife and butted together for longer runs. Once the screed has cured, the rigid upstand sits proud of the surface and is trimmed flush with the finished floor level. The foam core remains in place, permanently compressible, accommodating thermal movement for the life of the floor.
Metex joints are compatible with all the major flowing screed products — Cemfloor, Breedonflow, Isocrete, Gyvlon, Supaflo, and others. They’re a standard part of our installation kit on every liquid screed project, domestic or commercial.

Where to Position Joints
Joint positioning is where experience counts as much as guidelines. The published rules tell you the maximum bay sizes and the obvious positions — structural joints, door thresholds, UFH zone boundaries. But on a complex commercial floor plate, the real decisions are about the dozens of positions that aren’t covered by a simple rule.
Door thresholds. Always. Where screed passes through a doorway, a joint is essential — particularly where the rooms on either side are at different temperatures or where the doorway is the narrow connection between two larger areas. The doorway is a natural stress concentration point, and without a joint, it’s where the crack will appear.
Structural movement joints. Every movement joint in the structural slab must be mirrored in the screed above. Full stop. The joint in the screed should be directly above the structural joint and should be of equal or greater width. Failure to mirror structural joints is one of the most common — and most avoidable — causes of screed cracking.
UFH zone boundaries. Where two independent heating circuits meet, a joint separates them. If those circuits operate at different temperatures, the joint must be an expansion joint (compressible) rather than just a control joint. Any UFH pipe that passes through an expansion joint should have expansion sleeving for 300mm either side to prevent stress damage to the pipe.
Changes in geometry. Where the floor plan changes from a wide area to a narrow one, from a straight run to an L-bend, or where an alcove or bay window creates a re-entrant corner — these are all stress concentration points that benefit from a joint. The joint relieves the stress before it builds to the point of cracking.
Column positions. Columns that penetrate the screed should have a perimeter strip of compressible material (typically 10mm closed-cell foam) around the base, isolated from the surrounding screed. This allows the screed to move independently of the column, which is fixed to the structural frame and doesn’t move with the floor.
At maximum bay dimensions. Even in a large, regular, rectangular space with no complications, the bay size must not exceed the maximum for the screed type and installation method. On the Oxfordshire project, this meant subdividing the floor into bays well before the geometry or the UFH layout demanded it, simply because 3,000m² of cementitious screed cannot be poured as a single continuous mass.

Common Mistakes on Large Commercial Pours
Having installed liquid screed on commercial projects across England, we’ve seen — and corrected — most of the mistakes that lead to floor failures. Many of them come down to joint planning.
Not enough joints. The most common problem. On large floor plates, there’s sometimes pressure to minimise joints because they’re seen as an inconvenience — an interruption in the finished floor surface. But a floor with too few joints is a floor with uncontrolled cracks. The joint is there to prevent something worse.
Joints positioned after the pour. Saw-cutting control joints into cured screed is common practice with sand-and-cement, but it’s a different proposition with liquid screed. The joints need to be in place before the pour, not after. Attempting to saw-cut a joint after the screed has been placed is reactive, imprecise, and rarely achieves the clean separation that a pre-formed joint provides.
Using the wrong joint product. Foam strips designed for traditional screed lack the rigidity to survive a liquid pour. The screed flows under them, over them, or pushes them out of position. If the joint product isn’t designed for flowing screed, it won’t perform as a joint.
Failing to mirror structural joints. This one causes the most dramatic failures. If there’s a construction joint in the concrete slab and the screed is poured continuously over it, the screed will crack — not might, will. The structural joint is there because the slab needs to move at that point. The screed has to move with it.
Ignoring UFH zone separation. On commercial projects with multiple heating circuits at different set temperatures, the differential thermal movement between adjacent zones can be significant. Without an expansion joint between them, the repeated thermal cycling creates cumulative stress that eventually cracks the screed at the zone boundary.
Poor day joint planning. Stopping a pour at an arbitrary point rather than a planned joint line creates a cold joint — a weak boundary where the first pour has started to cure before the second pour is placed against it. Day joints should always be planned to coincide with permanent joint positions wherever possible.
Prep Is Where Performance Starts
There’s a saying in screeding that big commercial pours don’t succeed on the day — they succeed in the prep. The Oxfordshire project is a good example. Three thousand square metres of Cemfloor cementitious screed, with underfloor heating across the floor plate, installed to a level, crack-free finish. That result was determined by the joint layout, the bay planning, the substrate preparation and priming, and the coordination of trades in the days and weeks before the screed arrived on site.
At J&H Lynch, we take floor preparation seriously because we’ve seen what happens when it’s rushed or overlooked. As certified Cemfloor, Tarmac, and Flowcrete installers, we follow manufacturer specifications on every project — including joint spacing, bay sizing, and the products used to form them. Our collaborative approach means we work closely with main contractors, architects, and UFH installers to plan the joint layout before we arrive on site, so the screed installation is coordinated with everything that comes before and after it.
That’s the difference between getting screed down and getting it right.
Planning a Large-Scale Screed Installation?
Whether you’re a main contractor specifying screed for a commercial build, a developer with a multi-unit residential scheme, or an architect detailing floor construction — we can advise on the right screed system, joint layout, and bay sizing for your project. Getting the planning right saves time, money, and remedial work later. We’d rather talk about it before the pour than after.
Call us: 01865 416811
