
Why Priming Matters Before Bonded Liquid Screed
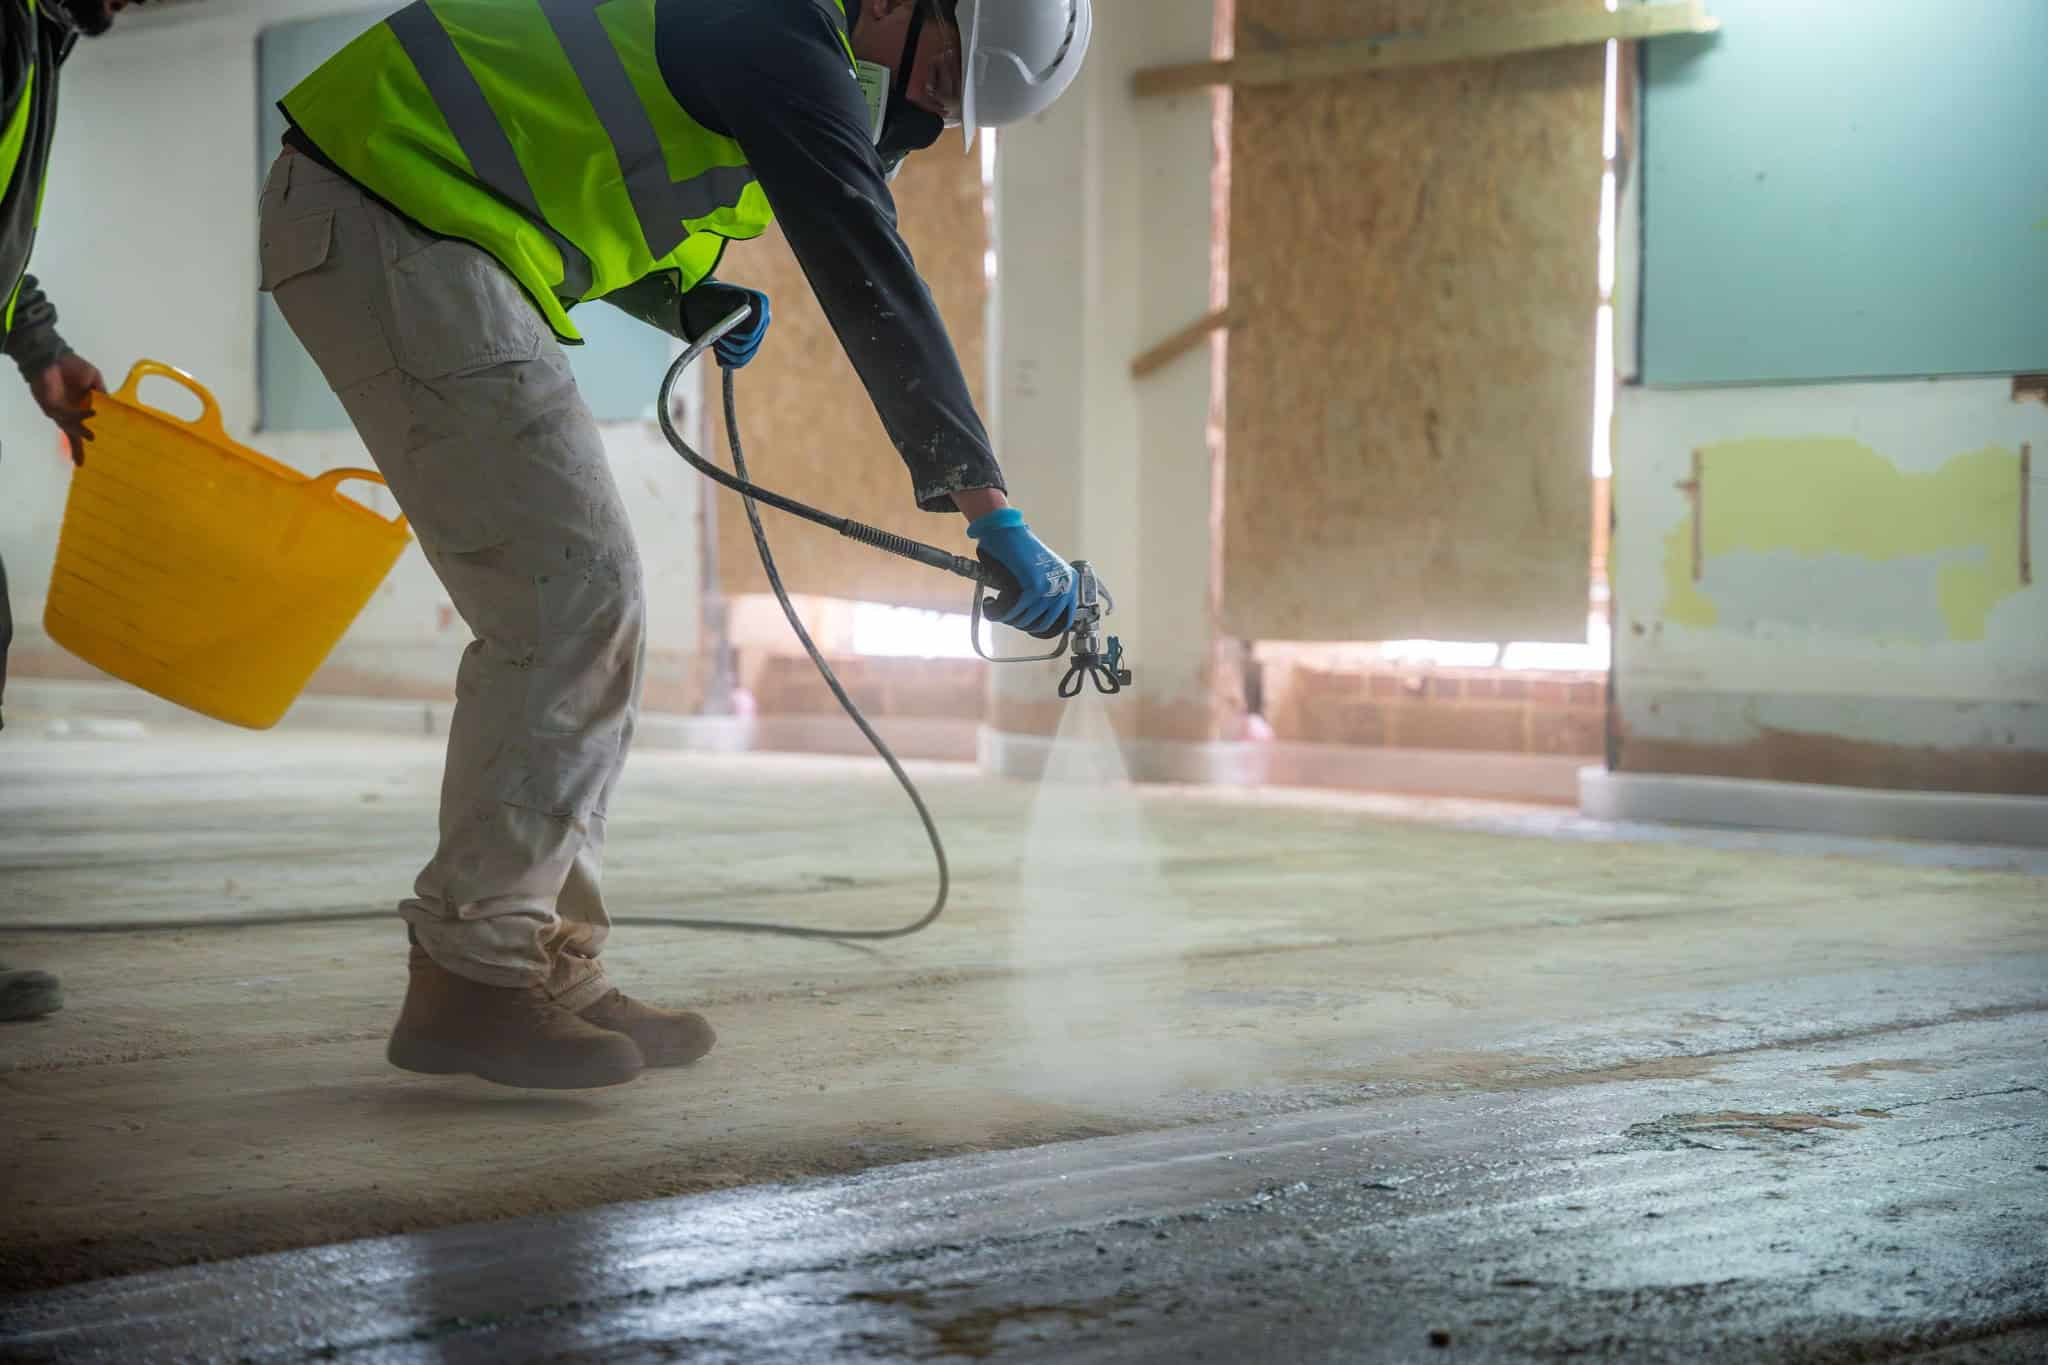
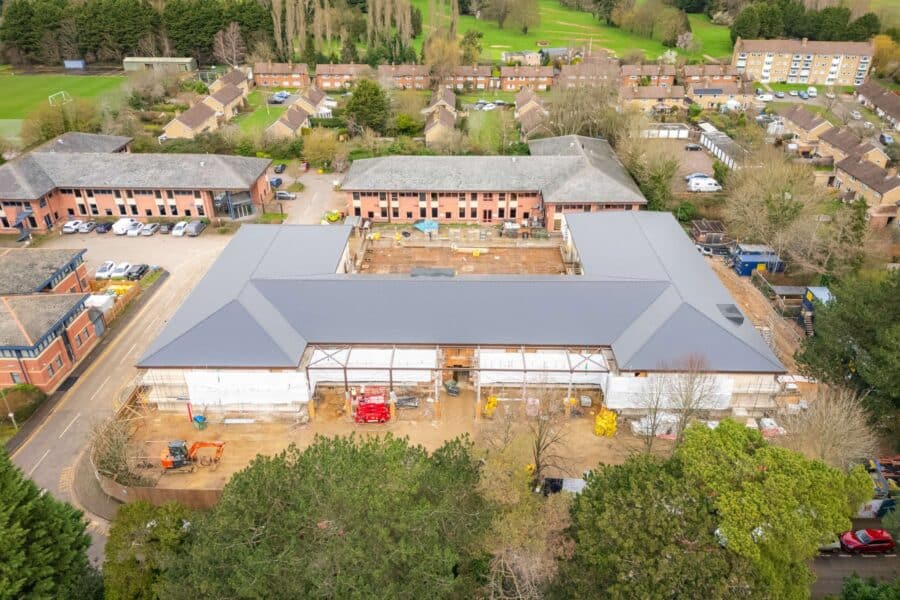
We recently spray-applied over 1,500m² of Larsen Acrylic Primer across a large commercial project in Oxford, preparing the entire substrate for a fully bonded Cemfloor cementitious liquid screed installation. It’s the kind of operation that most people outside the trade never see — and that some people inside the trade still try to skip.
Priming before a bonded liquid screed pour isn’t optional. It isn’t a nice-to-have. It’s a fundamental part of the installation that directly determines whether the screed bonds to the substrate as designed or fails weeks, months, or years after it’s been buried under floor finishes. The consequences of getting it wrong are expensive, disruptive, and entirely avoidable.
This guide explains what priming does, why it matters specifically for bonded liquid screed installations, and what proper substrate preparation actually looks like on a real project.
Bonded, Unbonded, and Floating: Why It Matters
Before talking about primer, it’s worth understanding why the type of screed installation changes the prep requirements so dramatically. There are three fundamental ways to install a liquid screed, and each one makes different demands on the substrate.
A floating screed sits on top of an insulation layer with a membrane separating it from the structural slab below. The screed doesn’t touch the substrate at all — the membrane acts as a slip layer, and the screed is free to move independently. This is the most common installation method for domestic projects with underfloor heating, and it’s the most forgiving in terms of substrate preparation.
An unbonded screed is separated from the substrate by a polythene membrane but without the insulation layer beneath. The membrane prevents bonding and allows the screed to move independently of the slab. Minimum depths are typically around 50mm for cementitious systems.
A bonded screed is different. It’s applied directly onto the structural substrate — concrete slab, power-floated finish, or existing screed — with the intention of creating a permanent mechanical and chemical bond between the two materials. The screed becomes part of the substrate rather than sitting independently on top of it. Minimum depths for bonded Cemfloor installations can be as thin as 25–30mm precisely because the bond transfers load directly into the structural slab beneath.
That bond is the entire point of a bonded installation. And it’s also the thing that fails when substrate preparation is wrong. Without proper priming, the screed sits on the substrate rather than bonding to it — and a screed that isn’t bonded to its substrate in a bonded installation is a screed that will eventually delaminate.
What Happens When You Don’t Prime
The failure modes of an unprimed or poorly primed bonded screed installation are well-documented, and they’re all preventable. Understanding what goes wrong — and why — makes the case for proper preparation clearer than any product data sheet.
Debonding and delamination
The most serious failure. Without a primer creating a consistent bond interface, the screed relies on whatever adhesion it can achieve with the raw substrate surface. On a dusty, contaminated, or inconsistently porous surface, that adhesion is patchy at best. Over time — and especially under load or thermal cycling from underfloor heating — the weak spots fail first. The screed separates from the substrate, creating hollow areas that flex underfoot and eventually crack. By the time you hear it, the floor finish on top is compromised too.
Inconsistent curing
Porous substrates absorb moisture from the wet screed at different rates depending on the surface condition. An area of exposed aggregate pulls moisture differently from a smooth power-floated zone. Without primer to regulate this suction, the screed loses water unevenly across the pour. Some areas cure too fast. Others retain moisture longer. The result is inconsistent strength development, differential shrinkage, and a floor that doesn’t perform uniformly across its area.
Rapid moisture loss and weak spots
On highly porous substrates — particularly older or mechanically prepared concrete — an unprimed surface can draw moisture out of the screed so aggressively that the material at the bond line doesn’t hydrate properly. The cement chemistry needs water to develop strength. Remove that water too quickly and you get a weak, friable layer at exactly the point where the bond should be strongest. It’s invisible until it fails.
Pin-holing and surface defects
Air trapped in the pores of an unsealed substrate can migrate upward through wet screed as it cures, creating pin-holes and surface blemishes. On a large-format pour where the screed needs to self-level to a consistent finish, these defects are both visible and functional problems — particularly if the floor will receive a thin floor covering that telegraphs any imperfection beneath.
How Acrylic Primer Works on Porous Substrates
An acrylic primer like the Larsen Acrylic Primer we used on the Oxford project is a water-based polymer emulsion. It’s not a surface coating in the traditional sense — it’s a penetrating sealer that works by being absorbed into the pore structure of the substrate, where the polymer particles coalesce as the water evaporates, forming a continuous film that modifies the surface properties of the concrete.
In practical terms, it does four things that matter for a bonded liquid screed installation:
It seals the capillary network. Concrete and cementitious substrates are porous materials riddled with a microscopic network of capillaries that draw in moisture through surface tension. An acrylic primer penetrates these capillaries and blocks them, preventing the substrate from aggressively pulling water out of the fresh screed. This gives the screed time to hydrate properly and develop full strength at the bond line.
It controls suction rate. Even on substrates that aren’t excessively porous, the suction rate varies across a floor area. Joints in concrete pours, areas of different aggregate exposure, patches of power-floated finish versus tamped finish — they all pull moisture at different rates. The primer evens this out, creating a consistent suction profile across the entire substrate so the screed cures uniformly.
It improves adhesion. The polymer film left by the primer creates a surface that the liquid screed can bond to more effectively than raw concrete. It bridges micro-cracks, dust contamination that mechanical cleaning didn’t fully remove, and surface irregularities that would otherwise create weak spots in the bond.
It acts as a chemical barrier. On gypsum-based substrates, a primer also prevents chemical reactions between the substrate and cement-based screed that can produce ettringite — a crystalline compound that causes expansion and delamination. This is less relevant for cementitious-on-cementitious applications, but it’s critical knowledge for anyone working across both anhydrite and cementitious systems.
Larsen’s Acrylic Primer is tinted pink, which serves a practical purpose beyond branding — it allows the applicator to see exactly where primer has been applied and where coverage is thin or missing. On a 1,500m² pour, visual confirmation of even coverage matters.
Spray Application vs Roller on Large Pours
On a domestic installation — a kitchen extension, a single-storey addition — rolling primer on by hand is perfectly adequate. The areas are manageable, the substrate conditions are usually consistent, and a competent installer can achieve even coverage with a roller and tray in a reasonable timeframe.
At 1,500m², that calculation changes completely.
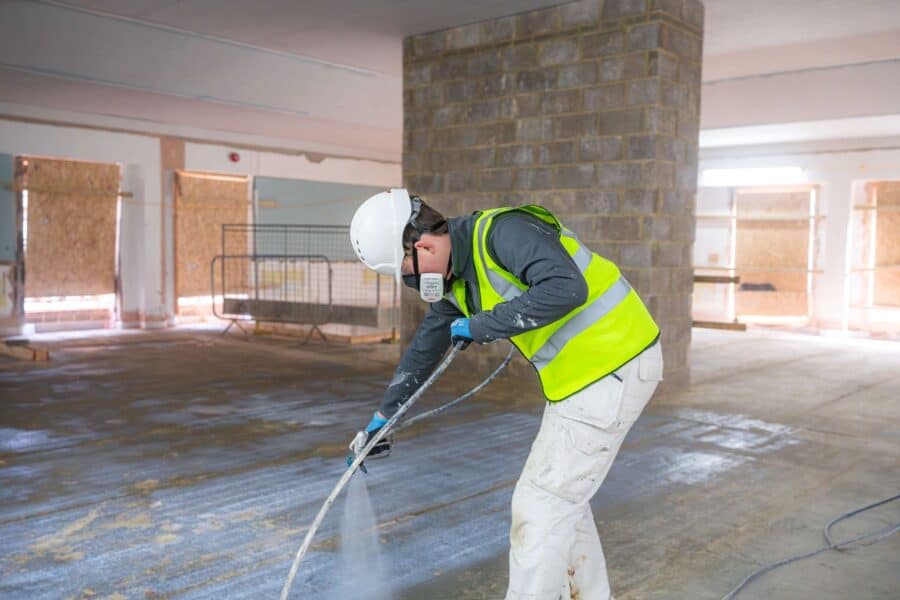
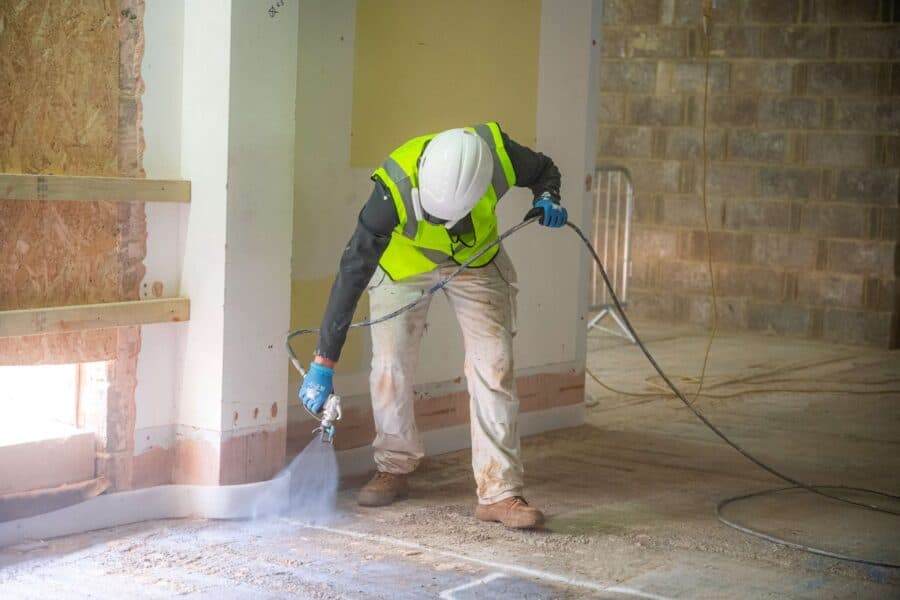
Spray application is the only practical method for priming large commercial floor areas. The reasons are technical as much as they are logistical. A spray system delivers a consistent film thickness across the entire surface — no heavy spots where the roller was overloaded, no thin patches where it was running dry. The atomisation of the primer ensures it penetrates the substrate pores evenly rather than pooling in low spots or skating across dense areas.
Speed matters too, but not for the reason people assume. It’s not about getting the job done faster to save money — it’s about controlling the application window. Larsen’s technical data specifies that the screed should be placed when the primer has dried clear, typically within one to two hours. On a large pour that will be delivered and placed sequentially across the floor area, the priming needs to be timed and sequenced so that each zone is at the right stage of cure when the screed arrives. Spray application gives us the speed and control to manage that sequencing precisely.
Our team spray-applied all 1,500m² in a single coordinated operation, ensuring the entire substrate was primed consistently before the Cemfloor cementitious screed pour began. That kind of scale and coordination is what specialist liquid screed installation demands.
Substrate Preparation Before Priming
Primer isn’t a substitute for proper substrate preparation — it’s the final step of it. Applying primer to a contaminated, damaged, or structurally unsound substrate doesn’t fix the underlying problem. The primer can only do its job if the surface beneath it is right.
Concrete substrates
The concrete must be structurally sound, dimensionally stable, and of sufficient compressive strength for the intended use. The surface should be clean and free from laitance, dust, grease, oil, paint, curing compounds, or any other contamination that could affect adhesion. Depending on the condition of the concrete, mechanical preparation may be needed before priming — shot blasting, diamond grinding, or scabbling to remove surface contamination and expose a clean, open-textured surface that the primer can penetrate.
Power-floated concrete
Power-floated finishes are dense and relatively non-porous, which presents a specific challenge for bonded installations. The smooth, closed surface doesn’t absorb primer in the same way as rougher concrete. Mechanical preparation — typically diamond grinding — is usually essential to break the surface skin and create enough porosity for the primer to penetrate and the screed to grip. Skipping this step on power-floated concrete is one of the most common causes of bonded screed failure.
Existing screed or cementitious surfaces
When bonding new screed to an existing cementitious surface, the same principles apply: the surface must be clean, sound, and free from contamination. Loose or damaged sections — cracked areas, delaminated patches, hollow spots — must be cut out and repaired before the substrate can be primed. You cannot bond new screed to old screed that is itself failing.
In every case, the final step before priming is thorough vacuuming of the entire substrate. Dust is the enemy of bonded installations. A layer of fine dust between the primer and the concrete creates a failure plane that no amount of primer can overcome.
Cemfloor Cementitious Screed: Manufacturer Requirements
As certified Cemfloor installers, we follow the manufacturer’s installation guidelines precisely — and those guidelines are clear on the subject of substrate preparation for bonded installations.
Cemfloor’s technical documentation specifies that for bonded installations, the substrate must be mechanically prepared to provide an open-textured surface, all dust and debris removed, and a suitable bonding agent applied to ensure solid bonding of the screed to the substrate. The minimum depth for a bonded Cemfloor installation is 25mm (50mm for the high-performance variant), which makes the quality of the bond even more critical — at these thin sections, the screed is relying entirely on its bond to the substrate for structural integrity.
This isn’t a suggestion or a best-practice recommendation. It’s a certification requirement. If the substrate isn’t prepared and primed to the manufacturer’s specification, the installation doesn’t comply with the product warranty, and the performance of the screed cannot be guaranteed. Any certified installer who skips priming is operating outside the terms of their certification — a point that’s worth understanding if you’re a contractor, developer, or architect specifying a bonded liquid screed system.
Cemfloor cementitious screed is a blend of Cemfloor binder, cement, sand, and water, formulated to be self-levelling and pump-applied. It complies with BS EN 13813:2002. Its cementitious chemistry means it develops strength through hydration — a chemical reaction between cement and water. Remove water too quickly from the bond line (by pouring onto an unprimed, highly porous substrate) and you compromise the hydration reaction at exactly the point where strength development matters most. The primer isn’t just protecting the bond — it’s protecting the chemistry of the screed itself.
Getting It Right at Scale
The Oxford project — 1,500m² of bonded cementitious screed — is a good illustration of why specialist installation matters. A pour at this scale involves coordinating screed delivery, pump logistics, site access, expansion joint layout and bay sequencing, and dozens of individual decisions about timing and application. The priming is just one part of that sequence, but it’s a foundational one. Get it wrong and everything that follows is compromised.
At J&H Lynch, we invest in the equipment, training, and processes to handle projects at this scale without cutting corners. Our specialist pumping equipment delivers consistent application rates across large areas. Our team understands the building science behind each step — not just the method statement, but the physics of why it matters. And as part of the Lynch Group, we work alongside sister companies including Lynch Brother Homes on projects where screeding is part of a wider construction programme, ensuring the screed installation is properly coordinated with the trades before and after us.
Every floor we install is properly prepared, correctly primed, and placed to manufacturer standards. That’s not a marketing line — it’s the only way to guarantee longevity and performance. The difference between a floor that lasts decades and one that fails in years almost always comes down to what happened before the screed was poured.
Need Specialist Screed Installation?
Whether you’re specifying a bonded liquid screed for a commercial project or planning a domestic installation over underfloor heating, our team can advise on the right system, preparation, and installation method for your build. As certified installers for Cemfloor, Tarmac, and Flowcrete, we install to manufacturer standards on every project — from 50m² kitchens to 3,000m² commercial floor plates.
Call us: 01865 416811
